Simple Terraform Deployment Guide
This guide provides step-by-step instructions for deploying a / Forensic Acquisition and Investigation instance with a minimial terraform deployment, aimed at helping you get up and running with the platform as quickly as possible
The initial deployment offers a basic working environment; however, certain functionalities are not included. Refer to the ‘Extensions’ section for details on missing features and instructions on how to add them.
Initial Deployment
Prerequisites
- Clone the repo https://github.com/cado-security/Deployment-Templates and change directory into
minimum_deployments/gcp - Install terraform locally
- Install and Auth with Gcloud CLI (
gcloud init)
Instructions
- Run
terraform initinsideminimum_deployments/gcp - Run Terraform plan to confirm the resources that will be created:
Required variables: There are 3 required variables:
- project_id - This is the GCP project you want to deploy into
- region - (us-central1 / us-east1)
- bucket - The bucket CADO will use for evidence preservation. Needs to be in the same project
Optional variables:
- credentials_file - A Service account JSON. For if not using authentication via GCP Cli
- gcp_image - The Terraform will automatically select the latest image, however if you want to provide a specific version of / Forensic Acquisition and Investigation pass the global image link from the / Forensic Acquisition and Investigation updates JSON
- source_ip - The IP address you want to whitelist port 443 with / Forensic Acquisition and Investigation. This will automatically select your own IP if left empty
- public_ip - By default True. Set to False if you do not want a Public IP on the instance
Network variables:
- network_name - VPC network name. Leave blank to use default
- subnetwork_name - Automatically determined unless specified
- service_account_email - To specify an already created service account email. Terraform will create one if left empty
Note: Terraform is Case Sensitive. Confirm the project and other variables are in the correct case.
terraform plan -var bucket=YOUR_BUCKET -var project_id=YOUR_PROJECT_ID -var region=DEPLOY_REGION
You should see Plan: 7 to add, 0 to change, 0 to destroy.
- Run Terraform apply to create the resources:
terraform apply -var bucket=YOUR_BUCKET -var project_id=YOUR_PROJECT_ID -var region=DEPLOY_REGION
Configure import sources
The initial deployment has the minimum set of permissions required to run the platform, but not to access the different data sources you might want to import from. Until you add roles that give it the permission to capture data from a cloud environment or XDR, you will be limited to the Host and URL import options which don’t require permissions beyond what the platform was deployed with.
Note: Some import types are also restricted when using local workers. See the Workers section below for more details.
This link will give details on how to configure each import source.
Prerequisites
- Ability to update IAM Roles
Instructions
- Add the necessary permissions to the / Forensic Acquisition and Investigation role
// GCP Project Access
"resourcemanager.projects.get",
"compute.projects.get",

// Instance Acquisition
"cloudbuild.builds.get",
"cloudbuild.builds.create",
"compute.disks.get",
"compute.disks.use",
"compute.disks.list",
"compute.disks.useReadOnly",
"compute.globalOperations.get",
"compute.images.create",
"compute.instances.get",
"compute.instances.list",
"compute.images.delete",
"compute.images.get",
"compute.instances.getSerialPortOutput"
-
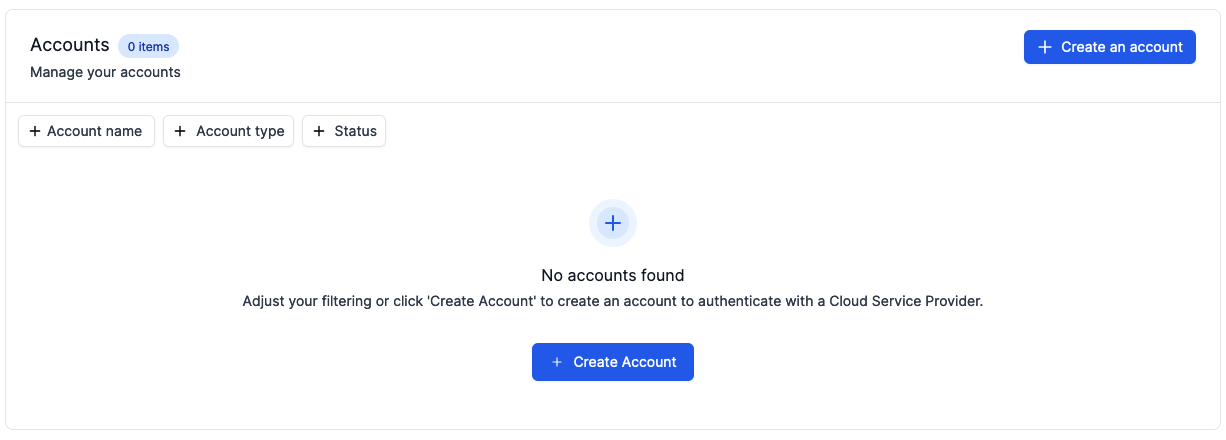
Add the Account details to / Forensic Acquisition and Investigation
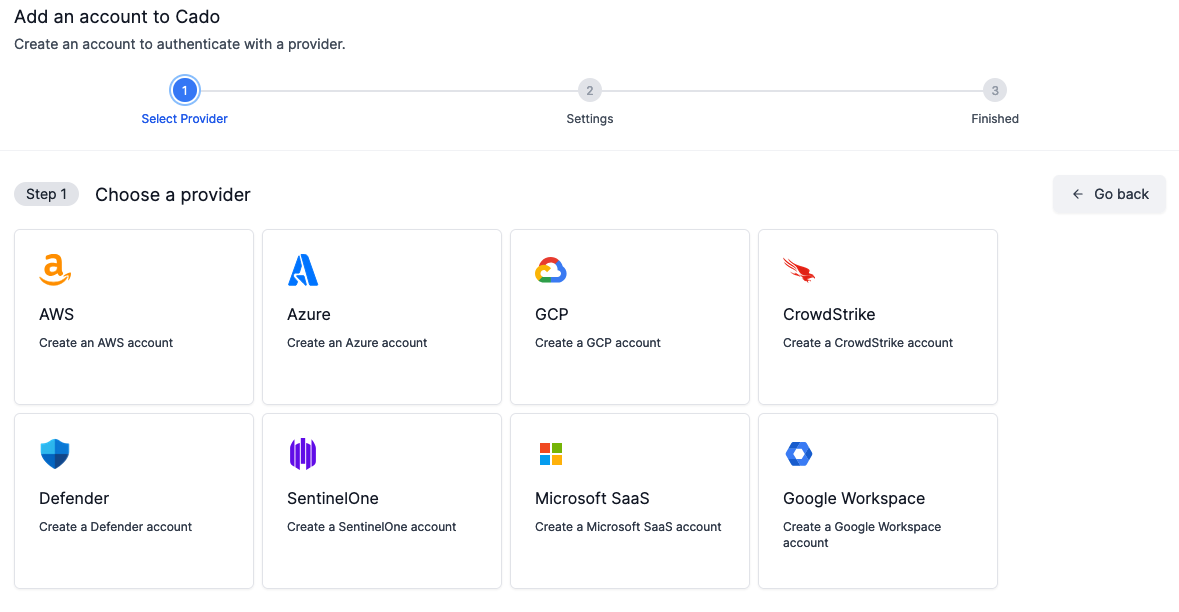
a. Go to Settings > Accounts and click on Create an Account
- Select GCP as the provider
- Verify that the account health check passes
Optional Extensions
Workers
The initial deployment uses a single Compute instance, limiting imports to / Forensic Acquisition and Investigation Host captures and restricting simultaneous evidence processing to ensure stability. Additional Compute instances are required to process more data or multiple evidence items concurrently.
To enable Workers follow the workers document - Enable Workers
Secret Manager
The initial deployment stores the key used to encrypt secrets in / Forensic Acquisition and Investigation locally on the machine. Enabling a Secret Manager allows / Forensic Acquisition and Investigation to instead store the key in GCP Secret Manager.
To enable Secret Manager follow the secret manager document - Enable Secret Manager
NFS
The initial deployment deployment deploys without a Network File Share (NFS). Enabling an NFS allows / Forensic Acquisition and Investigation to keep a copy of every file processed on disk. This enables the re-running of analysis and the downloading of the original file in the UI for further analysis.
To enable NFS follow the NFS document - Enable NFS