This section is not relevant to SaaS deployments - Please see AAISP documentation on SSO.
How to Set Up the Okta SAML Integration
You can enable the Okta SAML Integration beta in the / Forensic Acquisition and Investigation platform by navigating to Settings > SSO > Okta SAML.
Setting up Okta SSO
-
Open the Okta admin dashboard and go to
Applications > Applications. -
Click Create App Integration.
-
Select SAML 2.0 and click Next.
-
Name the / Forensic Acquisition and Investigation SAML app.
-
Add a Single Sign-On URL. This should be the URL you use to access / Forensic Acquisition and Investigation in the browser, appended with
/api/v2/auth/saml/okta(e.g., https://my.cado.instance/api/v2/auth/saml/okta). -
Add an Audience URI (SP Entity ID), typically the instance URL (e.g., https://my.cado.instance).
-
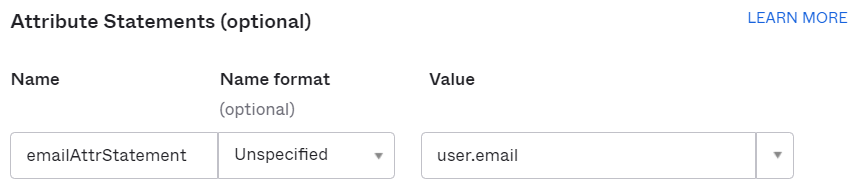
Add an Attribute Statement:
- Name:
emailAttrStatement - Name format: Unspecified
- Value: user.email
- Name:
-
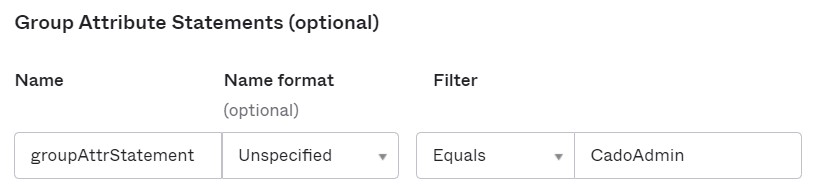
Add a Group Attribute Statement:
- Name:
groupAttrStatement - Name format: Unspecified
- Filter: Set to Equals and enter the name of your admin group (e.g.,
CadoAdmin).
- Name:
-
Click Next, complete the feedback, and click Finish.
-
(Optional) Assign users to the app:
- Go to the Assignments tab, select Limit access to selected groups, and add a user group.
- If you create a group named
CadoAdmin, users in that group will become Cado admin users.
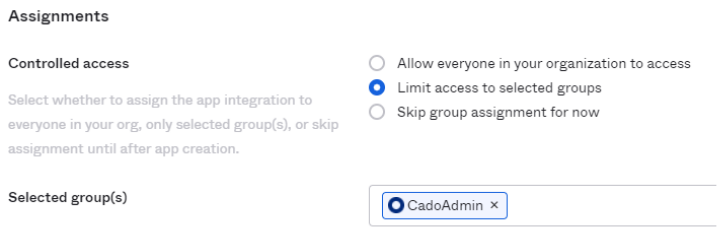
You can assign non-admin users by creating a group with a different name (e.g., CadoNonAdmin), and users in that group will be assigned as Normal Users in Cado.
-
In the Sign On tab, under SAML Setup, click View SAML setup instructions and keep the page open for reference.
-
Go to
Customizations > Other > IFrame Embeddingand ensure this setting is enabled to allow access refresh.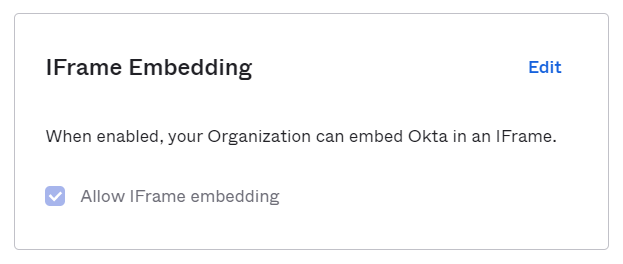
-
Configure SSO in / Forensic Acquisition and Investigation:
- Log in to your / Forensic Acquisition and Investigation instance as an admin.
- Navigate to
Settings > SSO > Okta SAMLand click Enabled. - Populate the fields using the information from the SAML setup instructions:
- Okta SAML App IdP entity ID: Enter the
Identity Provider Issuer. - Okta SAML App IdP SSO URL: Enter the
Identity Provider Single Sign-On URL. - Okta SAML App x509 Cert: Enter the
X.509 Certificate(text between-----BEGIN CERTIFICATE-----and-----END CERTIFICATE-----). - Okta SAML App SP entity ID: Enter the URL from step 6.
- Okta SAML App SP ACS URL: Enter the URL from step 5.
- Admin Group Name: Enter the admin group name from step 8.
- Okta SAML App IdP entity ID: Enter the
Use Admin Group Name to configure the role (Administrator or Analyst) for first login only. Any changes to a users roles from then onwards should be managed in the platform.
- (Optional) Click Test new settings to verify the configuration.
- Click Update.
- Log out and log back in using Okta SAML.