Simple Deployment Guide
This guide provides step-by-step instructions for deploying a / Forensic Acquisition and Investigation instance from the AWS console, aimed at helping you get up and running with the platform as quickly as possible
The initial deployment offers a basic working environment; however, certain functionalities are not included. Refer to the ‘Extensions’ section for details on missing features and instructions on how to add them.
Initial Deployment
Prerequisites
Before starting, make sure you have all the following:
- The / Forensic Acquisition and Investigation version number you want to deploy. We recommend using our updates page to retrieve the latest version.
- An S3 bucket for / Forensic Acquisition and Investigation to use. This should be for use exclusively by / Forensic Acquisition and Investigation - do not attempt to reuse/share an existing bucket
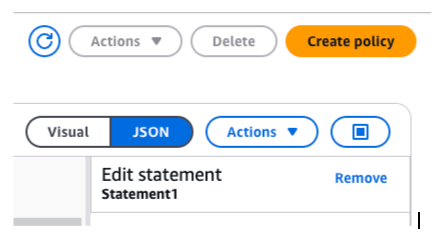
- A / Forensic Acquisition and Investigation Instance IAM policy containing the following (IAM > Policies > Create policy > JSON)
{
 "Version": "2012-10-17",
 "Statement": [
   {
     "Sid": "RequiredForCadoHostAndPreservation",
     "Effect": "Allow",
     "Action": [
        "s3:PutObject",
        "s3:GetObject",
        "s3:RestoreObject",
        "s3:PutObjectTagging",
        "s3:GetObjectTagging"
     ],
     "Resource": "arn:aws:s3:::MY_CADO_BUCKET/*" // Replace MY_CADO_BUCKET with your bucket name and delete this comment
   },
   {
      "Sid": "RequiredForCadoHostAndPreservation2",
      "Effect": "Allow",
      "Action": [
        "s3:ListAllMyBuckets",
        "s3:ListBucket",
        "s3:GetBucketLocation"
      ],
      "Resource": "arn:aws:s3:::MY_CADO_BUCKET" // Replace MY_CADO_BUCKET with your bucket name and delete this comment
   }
 ]
}
- A Role (“a / Forensic Acquisition and Investigation Instance Profile Role”), with your / Forensic Acquisition and Investigation Instance Policy attached.
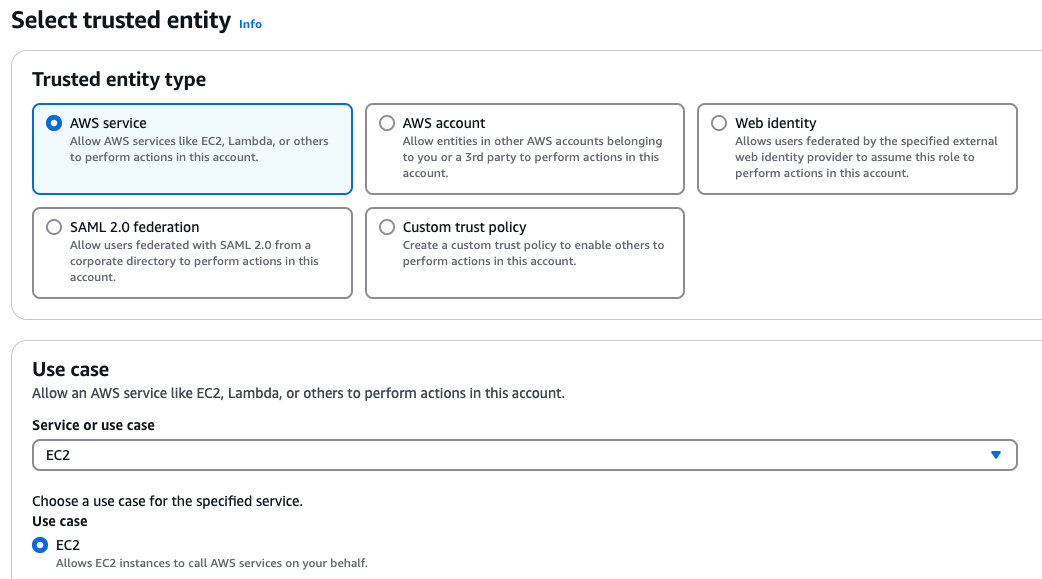
- To create an instance profile go to IAM > Roles > Create Role. Select ‘AWS Service’ for trusted entity type and EC2 for Use case. Click Next then select your policy and create.
-
A VPC to deploy into which has:
- Outbound route to the public internet
- Subnet
- DNS hostnames enabled
- DNS resolution enabled
-
An SSH key pair in the region you are deploying in
Instructions
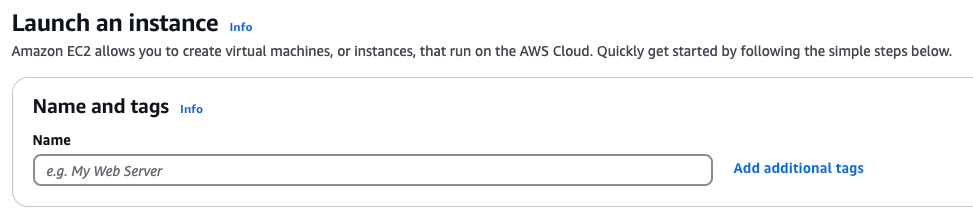
- Visit the Launch an instance page in the AWS console
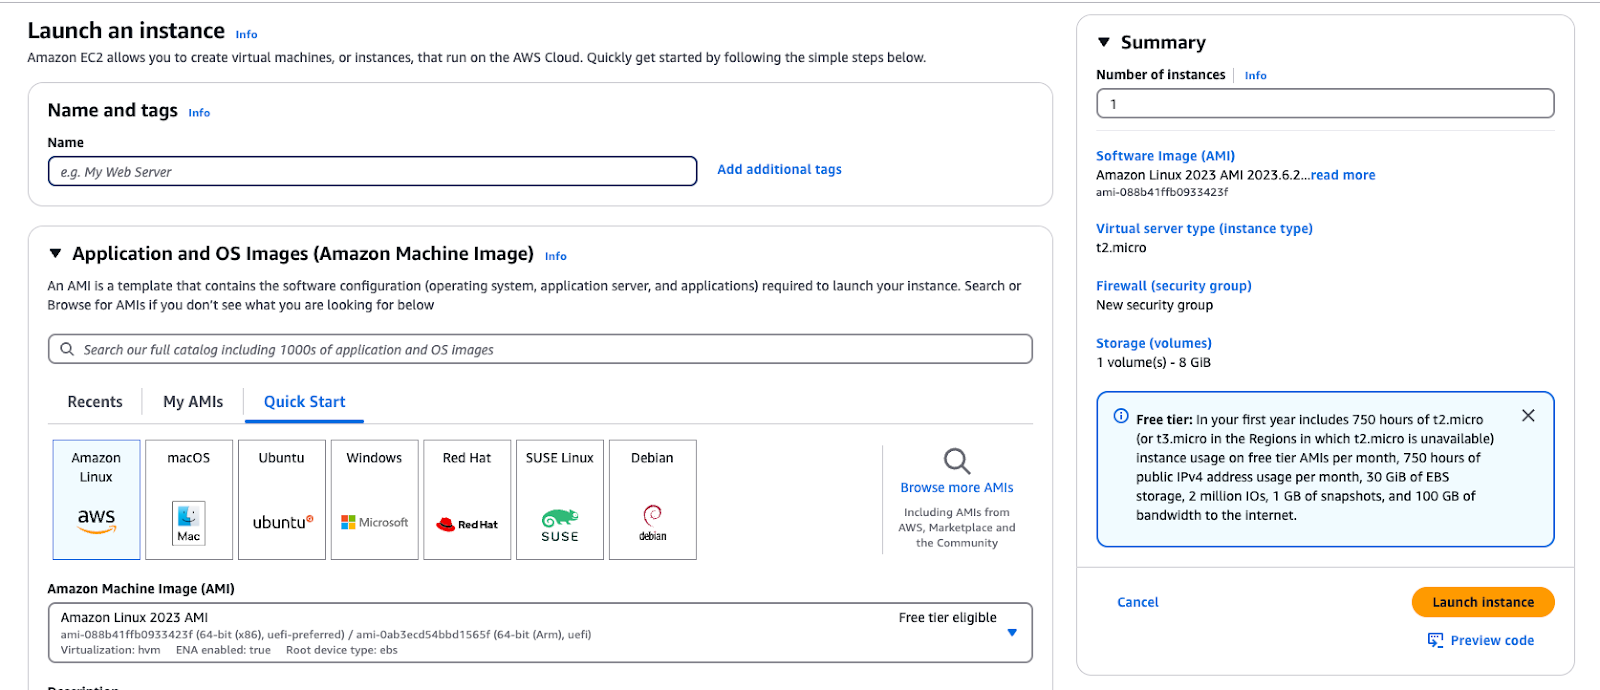
- Enter a name and any tags required by your organization
-
Configure AMI:
a. Click Browse more AMIs
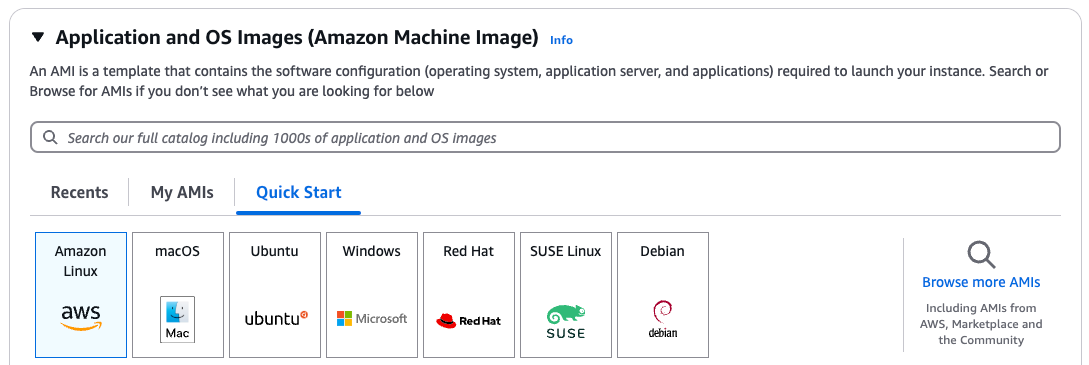
b. Select Community AMIs tab
c. Paste the / Forensic Acquisition and Investigation AMI for your region (see prerequisites) into the search bar
d. Select the returned AMI. If you don’t get results here double check you have the AMI id from the region you are trying to deploy into

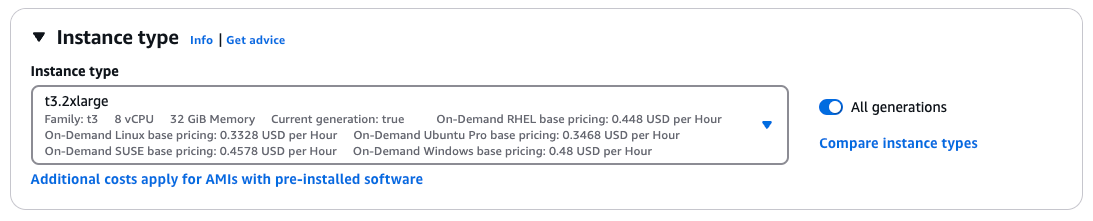
- Configure Instance type: select t3.2xlarge (other Nitro based instance types may be supported)
- Select SSH Key pair

-
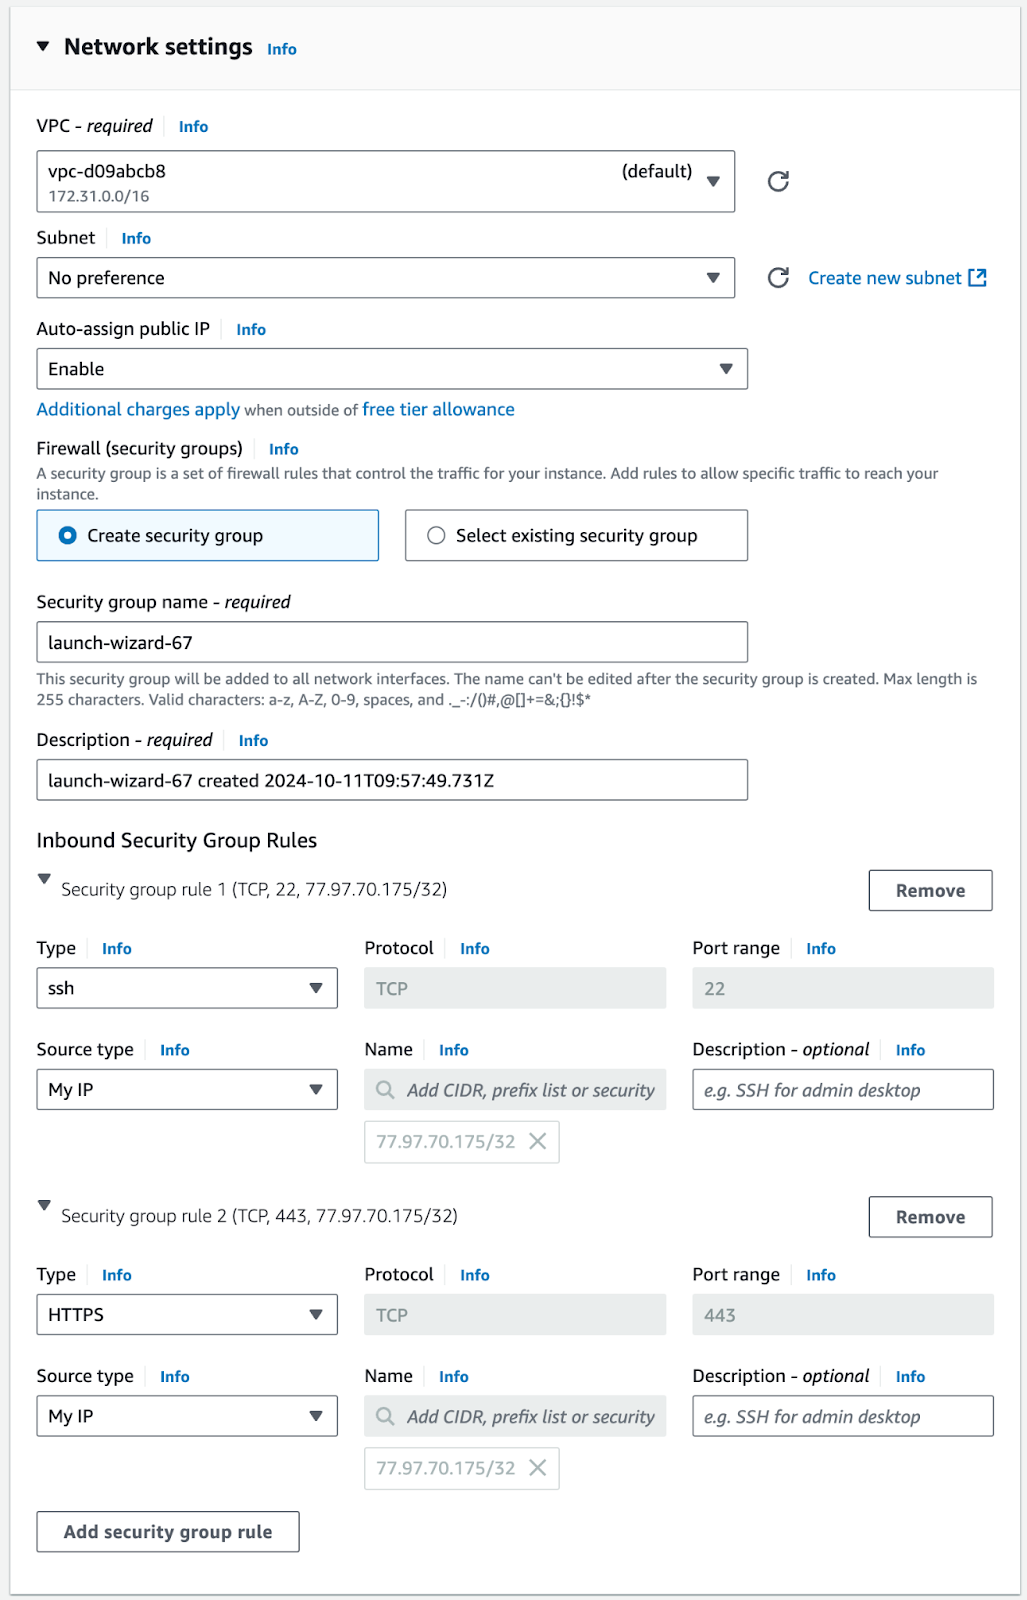
Configure Network settings:
a. Click Edit
b. Select VPC from the prerequisites (which may be your default VPC)
c. Select Subnet from prerequisites, or ‘No Preference’ If you don’t mind which subnet in the VPC is used and they all meet the requirements.
d. Set Auto-assign public IP to ‘Enable’.
e. Select ‘Create security group’
f. Add an inbound security rule with Type ‘SSH’ and Source Type ‘My IP’.
g. Add an inbound security rule with Type ‘HTTPS’ and Source Type ‘My IP’
- Note: this allows access to the Instance from your IP only! If you want to allow other IPs you can configure additional IPs here.
-
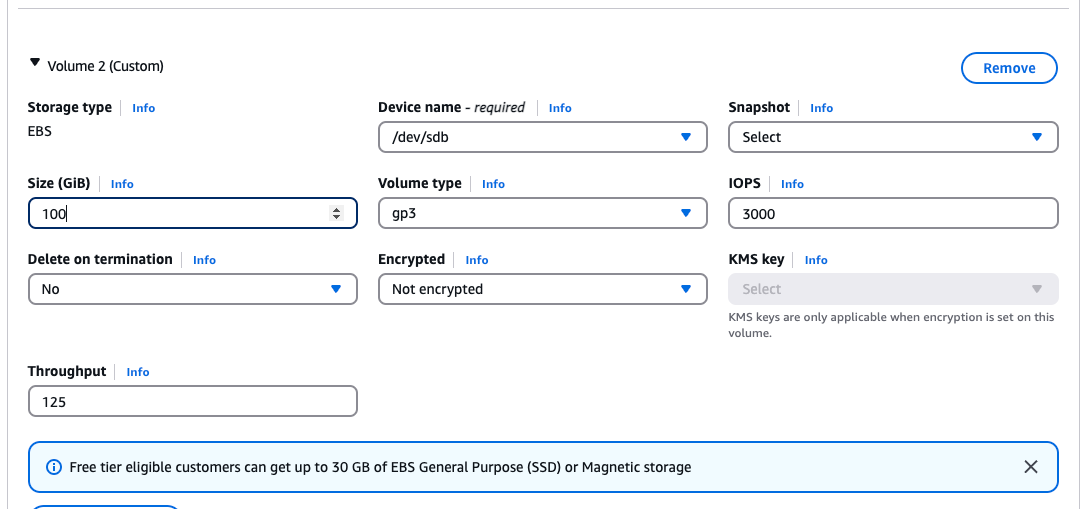
Configure “Storage (volumes)”
a. Select Advanced
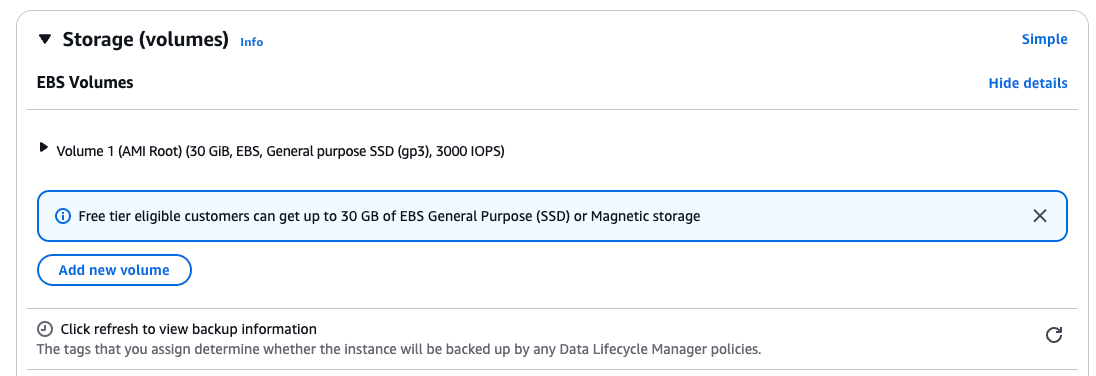
b. Select “Add new volume”

c. Set ‘Size’ to 100GB
-
Configure “Advanced details”
a. Select your role in the “IAM instance profile” dropdown

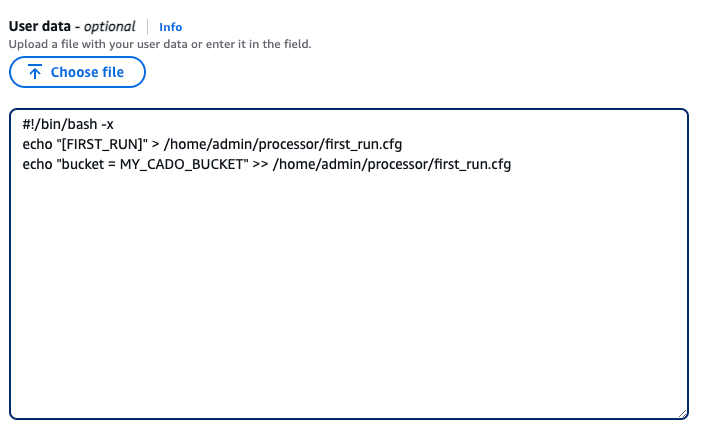
b. Replace MY_CADO_BUCKET in the text below, and paste into the “User data” block:
#!/bin/bash -x
echo "[FIRST_RUN]" > /home/admin/processor/first_run.cfg
echo "bucket = MY_CADO_BUCKET" >> /home/admin/processor/first_run.cfg
- Click Launch instance
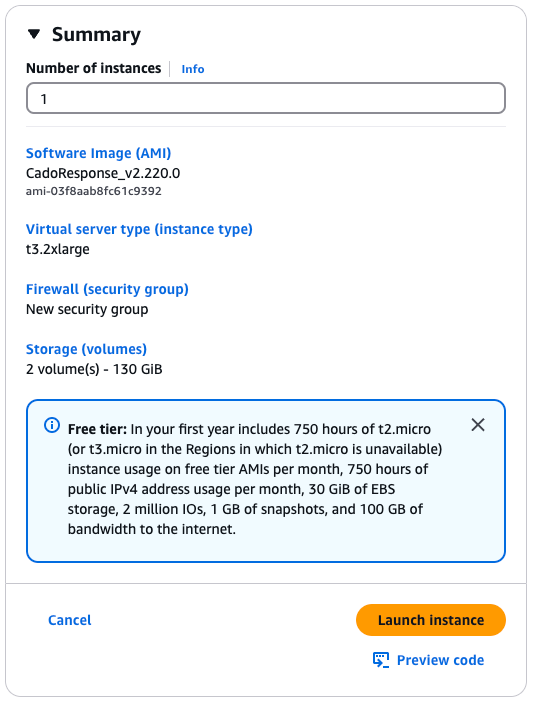
- After launching it will take a few minutes for the platform to start.

Optional Extensions
Workers
The initial deployment uses a single Compute instance, limiting imports to Host captures and restricting simultaneous evidence processing to ensure stability. Additional EC2 instances are required to process more data or multiple evidence items concurrently.
To enable Workers follow the workers document - Enable Workers
Secret Manager
The initial deployment stores the key used to encrypt secrets in / Forensic Acquisition and Investigation locally on the machine. Enabling a Secret Manager allows / Forensic Acquisition and Investigation to instead store the key in AWS Secrets Manager.
To enable Secret Manager follow the secret manager document - Enable Secret Manager
NFS
The initial deployment deployment deploys without a Network File Share (NFS). Enabling an NFS allows / Forensic Acquisition and Investigation to keep a copy of every file processed on disk. This enables the re-running of analysis and the downloading of the original file in the UI for further analysis.
To enable NFS follow the NFS document - Enable NFS