How to Collect Data from SentinelOne
SentinelOne Singularity provides comprehensive visibility across your environment, allowing you to detect malicious activity as soon as it occurs. Cado enhances forensic analysis, quickly delivering historical context and depth to your investigation, helping you identify the root cause efficiently. Together, the SentinelOne and Cado integration enables organizations to detect, investigate, and remediate breaches with unparalleled speed.
For more information, see the SentinelOne and Cado Security Joint Solution Brief.
To use the integration between SentinelOne and Cado, you need the SentinelOne Remote Script Orchestration (RSO) feature enabled, along with access to the Cado platform. To gain access to Cado, contact the Cado Security team here. Note that the RemoteOps feature must be enabled for each site in your SentinelOne management console.
Using the Cado & SentinelOne Integration
- In the SentinelOne console, go to Settings > Users > Service Users > Actions > Create New Service User.
- Ensure that your service user has Global Account scope, not Site scope.
- Assign the following additional permissions to the service user:
- RemoteOps > View
- RemoteOps > View Output
- RemoteOps > Upload
- RemoteOps > Run Scripts > Run Data Collection Script
- RemoteOps > Run Scripts > Run Artifact Collection Script
- RemoteOps > Run Scripts > Run Action Script
- RemoteOps > Delete
- RemoteOps > Cancel Scripts > Cancel Data Collection Script
- RemoteOps > Cancel Scripts > Cancel Artifact Collection Script
- RemoteOps > Cancel Scripts > Cancel Action Script
- Task Management > View
- Specify a name and the expiration period for the integration.
- Copy or download the API Token.
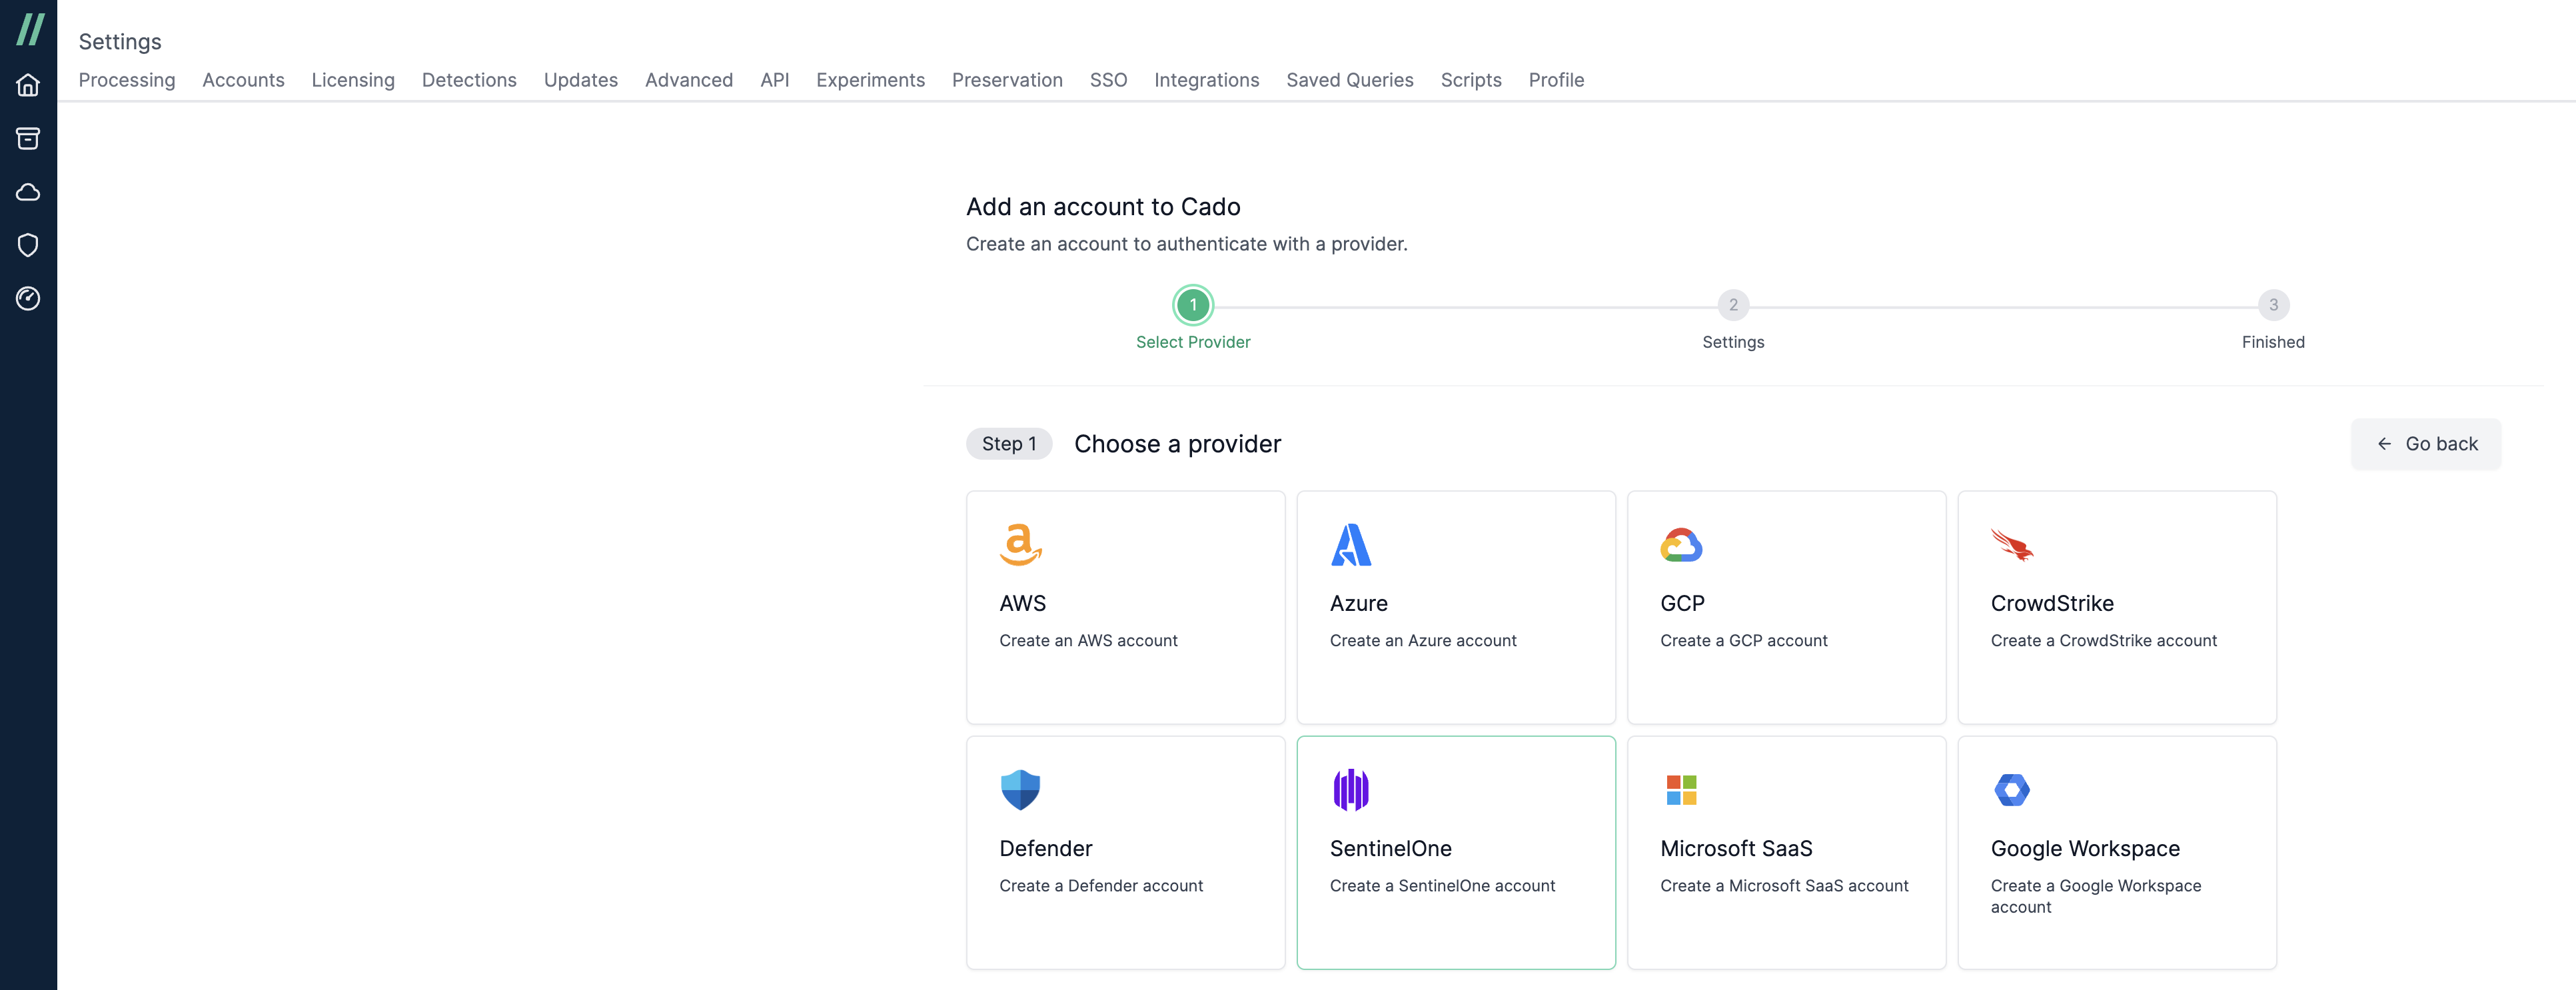
- In the Cado platform, Navigate to Settings > Accounts and click Create an account.
- Select SentinelOne from the set of providers.

- Give the account a Name and enter the Endpoint and Token. Leave the 'Run account check after adding account' checkbox selected, which will validate the account has the correct permissions after selecting 'Continue'.
- Navigate to the 'Accounts' table and the newly created SentinelOne account should present. If configured correctly, you will see a green coloured health status.
- An alternative way to check the account has been set up correctly is to browse to any investigation, and click Import > XDR > SentinelOne. If configured correctly, a paginated list of hosts with the SentinelOne agent installed will appear.
Currently, Windows and Linux operating systems are supported with the SentinelOne integration.
Add exclusions for Cado Host
- Create exclusions with the following patterns to enable Windows integration:
Windows\Temp\_MEI*\**\CadoHostRawGrabber.exeWindows\Temp\cado-host-*\cado-host.exe
- Create exclusions with the following patterns to enable Linux integration:
/tmp/cado-host-*/cado-host