How to automate data collection from detections
The Detections area of the platform (/detections/integrations) helps streamline your Security Operations Center (SOC) by enabling end-to-end workflow automation for investigations. You can easily connect various alert sources, automatically collect and process critical data, and integrate results into tools like SIEMs, task managers, and other productivity systems.
Collecting Data After CrowdStrike and Defender Alerts
To get started, watch the video below that demonstrates how to ingest alerts from Microsoft Defender. The same process applies to CrowdStrike. Here's a summary of the steps:
-
Create an XDR Connection
Go to ‘Settings’ > ‘Integrations’ > ‘XDR’ (/settings/integrations/xdr). For details on required API permissions, see the CrowdStrike Integration Guide and the Defender Integration Guide. -
Set Up a Detection Rule
In the Detections area, select one of the supported threat detection sources (/detections/integrations) to create a detection rule.
Collecting Data After Alerts from Other XDR Platforms
You can trigger an import from the / Forensic Acquisition and Investigation platform by creating a webhook from your XDR platform, then using the Cado API to initiate the import via a SOAR platform or your own API integration.
SentinelOne
To create a webhook:
- Visit the SentinelOne Singularity Marketplace.
- Search for "Webhook" to create and configure the webhook.
Collecting Data After AWS GuardDuty Alerts
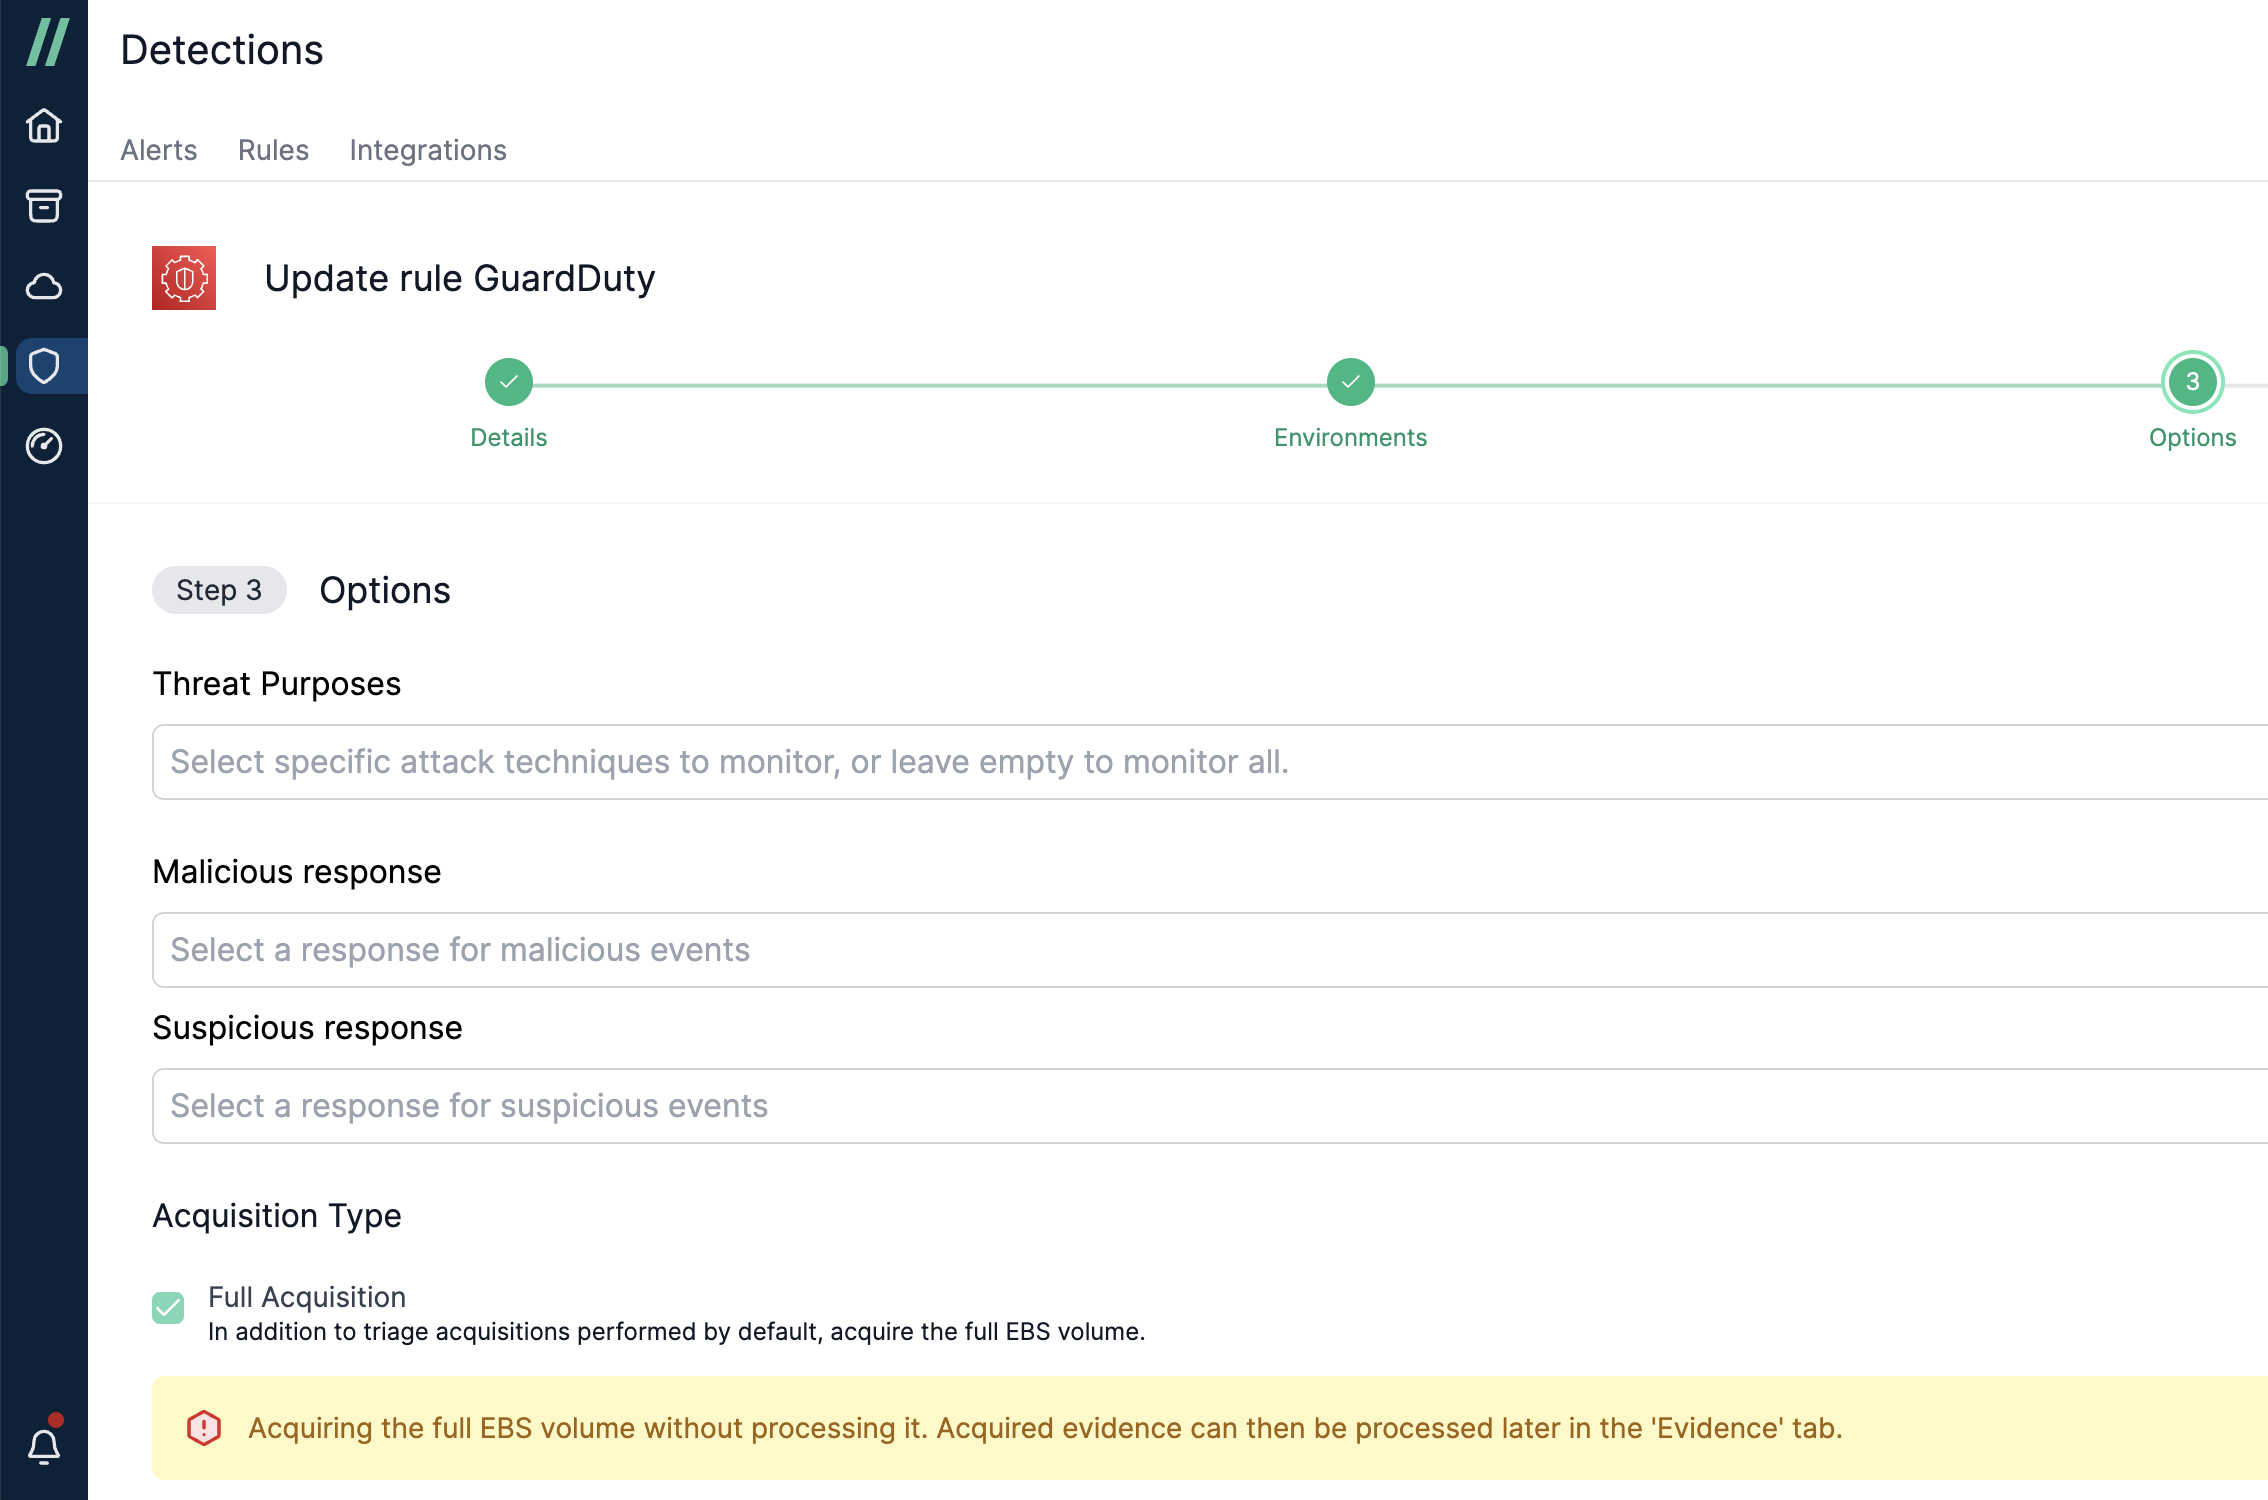
In the Detections area (/detections/integrations), select GuardDuty as the source to create a detection rule. The configuration process is similar to XDR platforms, with a few differences:
- On Page 2 of the wizard, select the appropriate AWS Accounts instead of an XDR connection.
- On Page 3, specify response actions if a malicious or suspicious activity is detected by / Forensic Acquisition and Investigation. Under 'Acquisition Type' you can also configure Cado to perform a full acquisition which will acquire the full EBS volume. This is in addition to performing a triage collecion. Note that the full EBS volume will not be processed - processing can be triggered manually in the 'Evidence' tab within the appropriate investigation.
Currently, / Forensic Acquisition and Investigation supports the following response actions for EC2 instances:
| Action | Description | Required Permissions |
|---|---|---|
| Stop Instance | Stops an EC2 instance using the AWS API | ec2:StopInstances |
| Isolate Role | Adds a "deny all" inline policy to isolate the IAM role attached to the EC2 instance | iam:GetInstanceProfile, iam:PutRolePolicy |
| Isolate Security Group | Replaces the security group of an EC2 instance with a blank one | ec2:CreateSecurityGroup, ec2:RevokeSecurityGroupEgress, ec2:ModifyInstanceAttribute |
Ensure the appropriate IAM permissions are added to your / Forensic Acquisition and Investigation role and that the role has access to the resources on which you want to invoke actions.
Collecting Data After Wiz Alerts
For instructions on automatically processing systems detected by Wiz, refer to the Wiz Forensics Integration Guide.
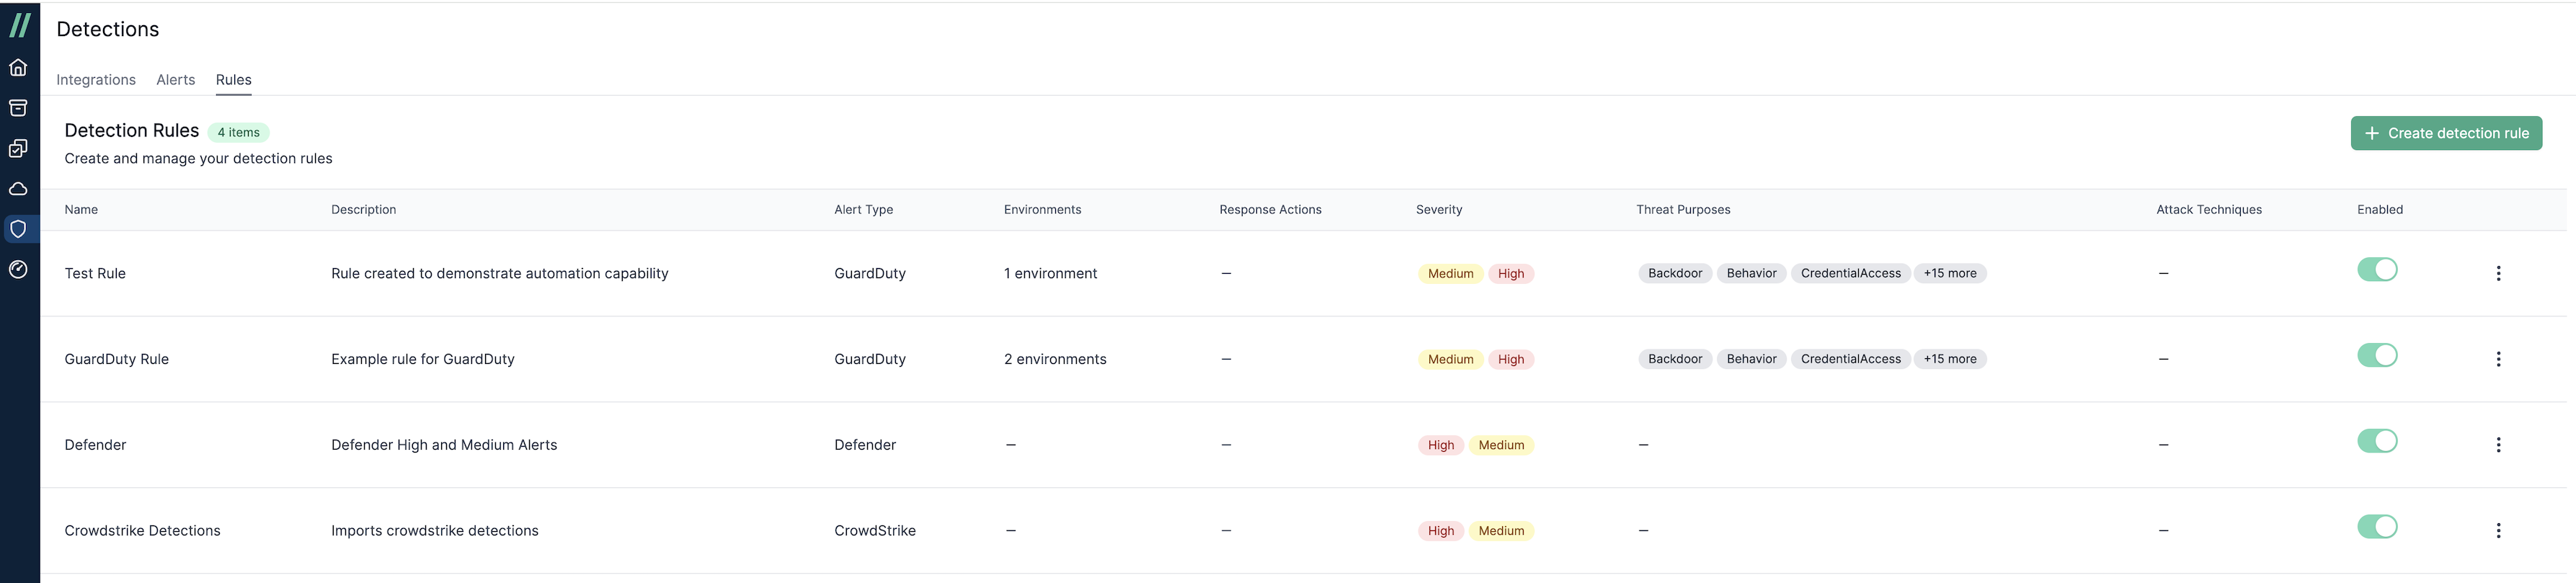
Managing Detection Rules
You can manage detection rules in the Rules area (/detections/rules). This interface allows you to easily create, enable/disable, edit, and delete rules as needed.
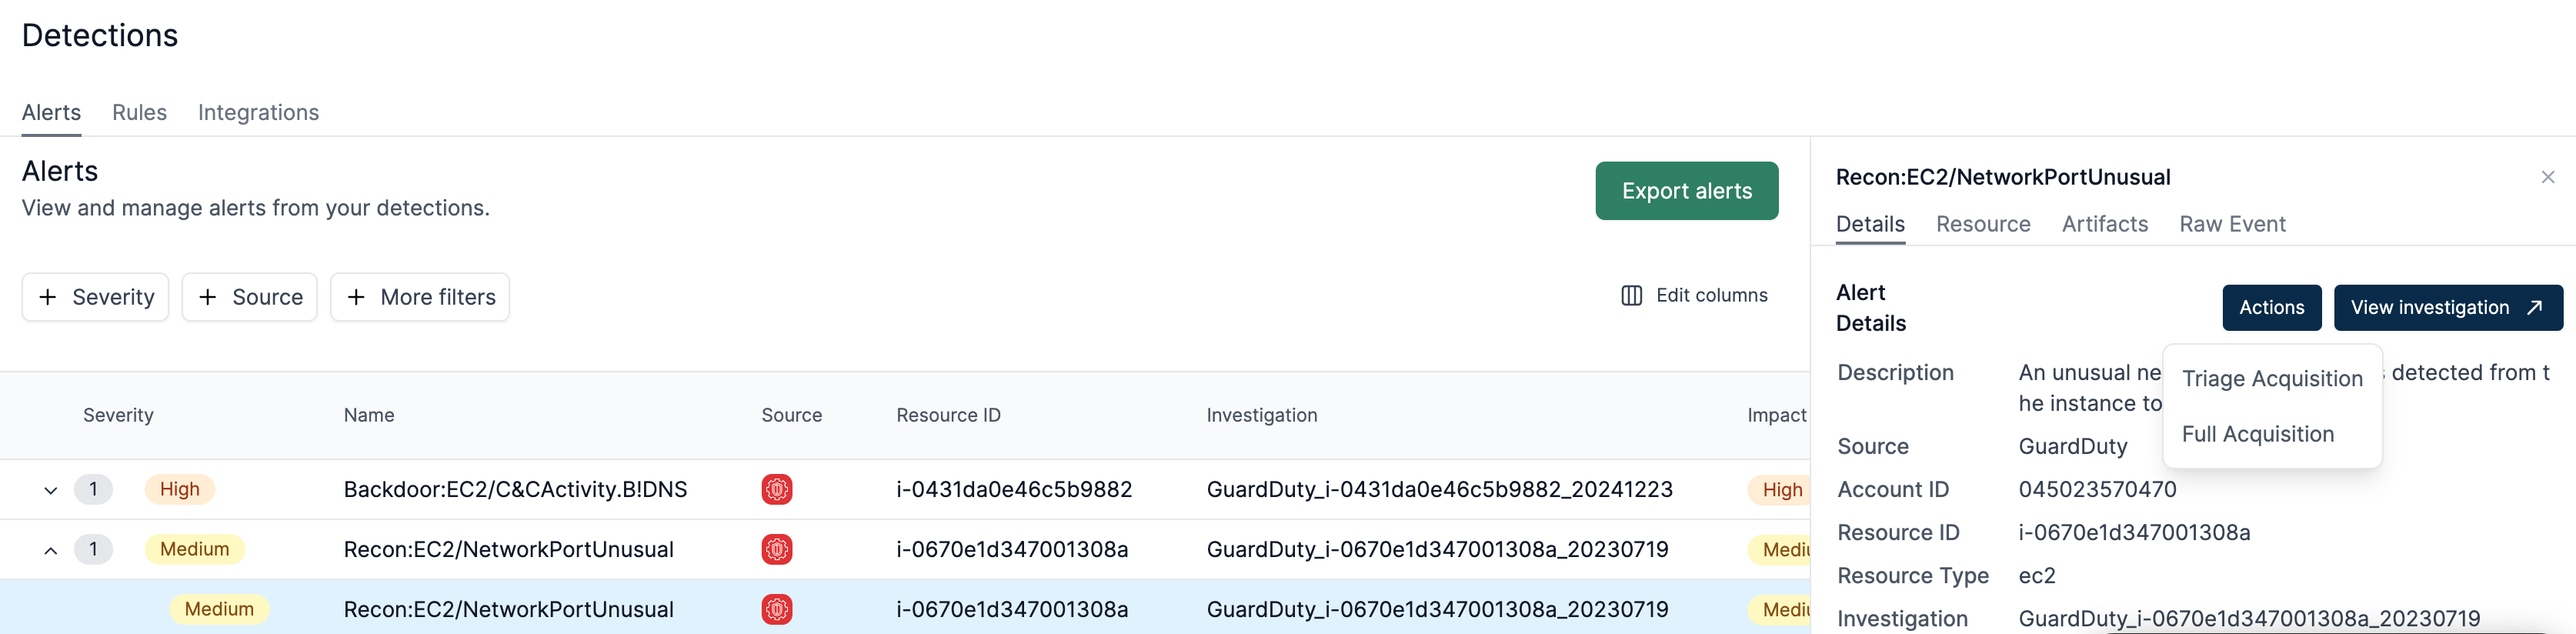
How to perform a manual Acquisition
If an acquisition fails or you wish to retry importing a capture, you can easily initiate one manually.
For GuardDuty, you have the option to perform either a triage acquisition or a full acquisition. With other providers, you can execute a manual triage acquisition.
Go to Detections > Alert tab, select the Alert, and click Actions > Triage or Full Acquisition to begin the process.
Creating Detections Settings
To enable custom detection rules you want to naviagte to Setting > Detections
From this screen you will now be able to enable user groups for detections and filter resources for your detections.
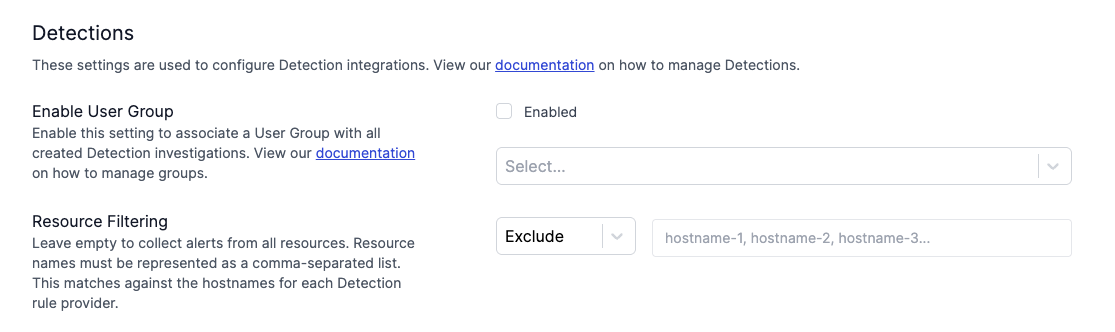
Enable User Groups - This feature enables you to filter detection visibility based on user groups and their RBAC roles. The primary use case is to enforce least privilege access, ensuring that users can only view the information they need according to their specific role.
Resource Filtering - Resource filtering lets you include or exclude specific resources from your detections. For example, if you don't want an instance to be included, you can now exclude it and focus only on the resources you wish to view.
Note: Depending on the XDR, we match on the following fields:
- Defender →
computerDnsName- CrowdStrike →
device.hostname- GuardDuty →
resource.instanceDetails.instanceId
If you want more information on managing your RBAC role and Groups you can find that Here
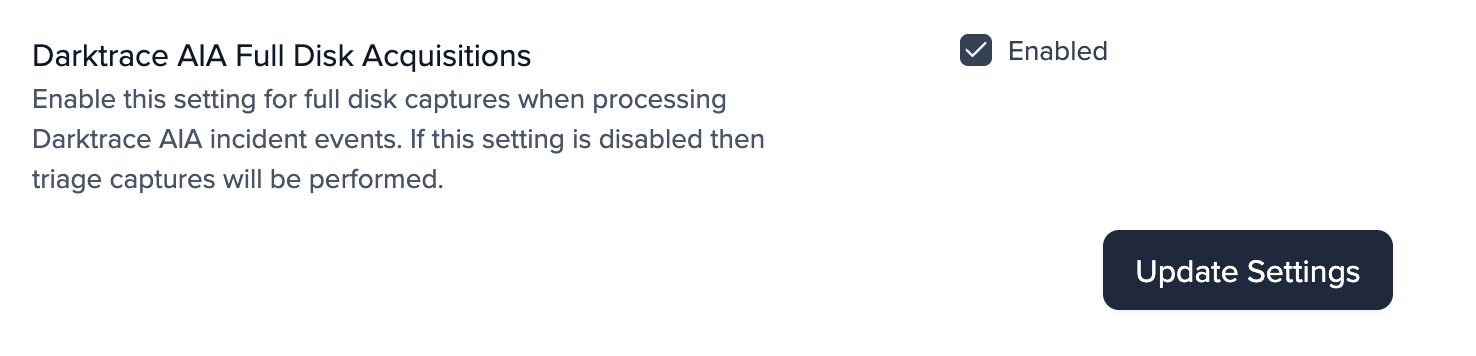
Darktrace AIA Full Disk Acquisition
⚠️ Note: This Setting is Off by default.
You are now able to perform a full disk acquisition of the cloud assets associated with AIA incidents by following the below steps:
- Login to your / Forensic Acquisition and Investigation Platform and go to settings.
- On the detections tab you you will now be able to enable Darktrace AIA Full Disk Acquisitions (This will be off by default).
Collection data from GCP via Darktrace alerts
In order for GCP GCE assets to be acquired from Darktrace AIA or MB alerts, the appropriate configuration must be in place.
In 'Settings' > 'Detections', you will need to provide a tag key and value that will be used to search for a bucket, which is required for the exporting of GCE disk images. A bucket must be present in at least one project for every GCP account you've added to the FA&I platform, and that bucket must contain the exact tags provided.
