How to Import Large AWS EC2 Instances
When importing AWS EC2 instances with disks over 500GB, you may encounter limitations in AWS that result in extended acquisition times. During the acquisition process, you might receive a warning, as shown below:

Alternate Acquisition via Triage of a Live System
If possible, use the Triage option if AWS Systems Manager (SSM) is enabled. This can speed up the acquisition process.
Alternatively, you can acquire the system using SSH or AWS EC2 Instance Connect. In the AWS console, select the instance, then choose Actions > Connect. From there, you can use / Forensic Acquisition and Investigation Host via the / Forensic Acquisition and Investigation UI at Import > / Forensic Acquisition and Investigation Host. You can also collect additional files by using the command line.
If the system is powered off, consider isolating it at the network and IAM level, then turn it on to capture the necessary data.
Alternate Manual Acquisition of a Live System
You can also manually copy individual files or perform a live image by connecting to the system and running a command such as:
dd if=/dev/source of=/path/to/image.dd bs=block_size count=total_blocks
Alternatively, to upload the disk image directly to S3:
aws s3 cp /dev/[disk] s3://bucket/image.dd.gz --expected-size [size in bytes]
How / Forensic Acquisition and Investigation Acquires EC2 Instances
When acquiring an EC2 instance, the / Forensic Acquisition and Investigation platform follows these steps:
- Create a snapshot of the volume attached to the instance.
- Create a volume from the snapshot.
- Create an image of the volume for processing.
Below is a diagram showing possible optimizations in this process:

Speeding Up Step 1: Create Snapshot
The snapshot creation process will be faster if there’s an earlier snapshot of the volume, as AWS uses incremental snapshots. However, creating a snapshot for large volumes can take several hours if no earlier snapshots exist. AWS recommends creating regular snapshots to speed up this process, though this may not be feasible during incident response.
AWS does not provide exact estimates for how long creating a snapshot will take, but volumes larger than 500GB typically require several hours if there are no prior snapshots.
Speeding Up Step 2: Create Volume with Fast Snapshot Restore
If you are not using the EBS Direct API for acquisitions (below) you can speed up the Create Volume step by using Fast Snapshot Restore. Note that this does not affect the time it takes to create a snapshot, and creating a volume still takes time. If you are using the faster EBS Direct API option, this entirely skips the Create Volume operation and is faster.
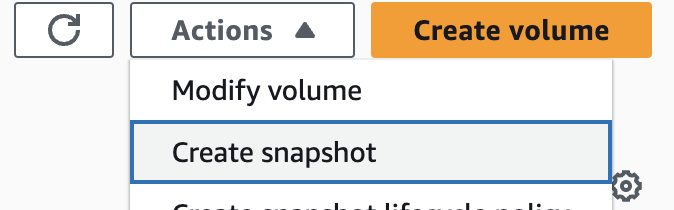
To create a snapshot and enable Fast Snapshot Restore:
-
Create a Snapshot:
Using the AWS CLI:
aws ec2 create-snapshot --volume-id vol-12345678 --description "My EBS volume snapshot" -
Enable Fast Snapshot Restore:

Using the AWS CLI:
aws ec2 enable-fast-snapshot-restores --availability-zones us-east-2a us-east-2b --source-snapshot-ids snap-1234567890abcdef0
AWS estimates that enabling Fast Snapshot Restore will take around 60 minutes per terabyte.
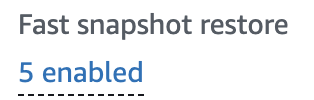
You’ll see the status of Fast Snapshot Restore in the AWS Console as follows:
Increasing the Size of the Target Instance for EC2 Acquisition
/ Forensic Acquisition and Investigation matches the instance type of the target system for compatibility when acquiring an instance. However, larger instances offer higher disk, network, and CPU limits, which can speed up the Create Image step.
If possible, changing the target instance to a larger type can speed up acquisition, though this does not affect the time taken for creating a snapshot or volume.
Alternative Collection Using the AWS EBS Direct API
/ Forensic Acquisition and Investigation now offers a faster acquisition method using the EBS Direct API. You can enable this feature under Settings > Experiments > EBS Direct Acquisitions.
This method is similar to using Coldsnap, which can be executed with a command like:
coldsnap --region us-east-1 download snap-0001 disk.dd